 |
| Take your pencil skirt. |
 |
| Close zipper. Then use dressmaker's pin to find button location, so that the pin passes through buttonhole and waistband. |
 |
| Then remove overlap of the waistband. |
 |
| The pin should be left in the underlap of the waistband. |
 |
| The first step to strengthen the thread in the waistband. Do not remove the pin yet. |
 |
| Here you can see closer. |
 |
| Strengthen the thread. It's much better, and there is no need to tie a knot for sewing thread. |
 |
| Several times strengthens the thread in the fabric. |
 |
| Several times strengthen the thread in the fabric, so that the thread can strongly stick. Then remove pin. |
 |
| Well, already be strong enough. |
 |
| Closer can be better seen. |
 |
| The final step, you must create a loop. Then push out the needle through the loop. |
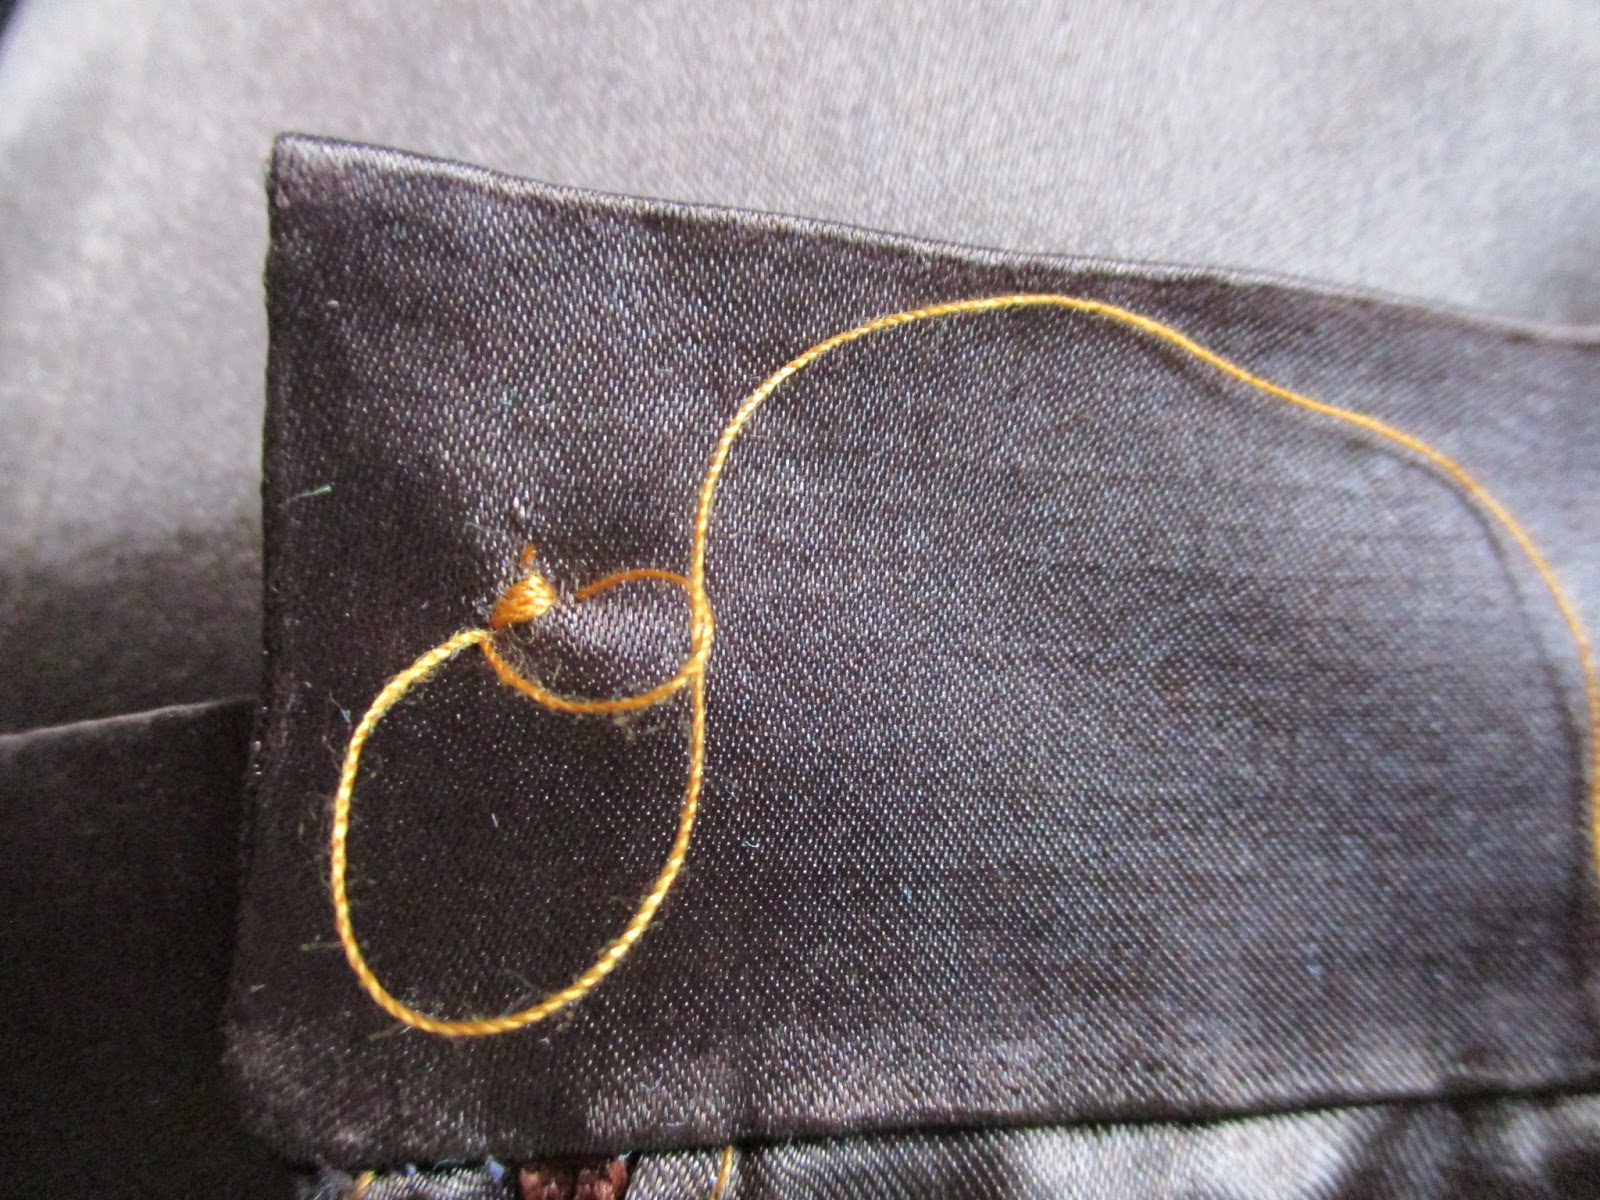 |
| Then push out the thread through the loop. |
 |
| You can help a little with the hand. |
 |
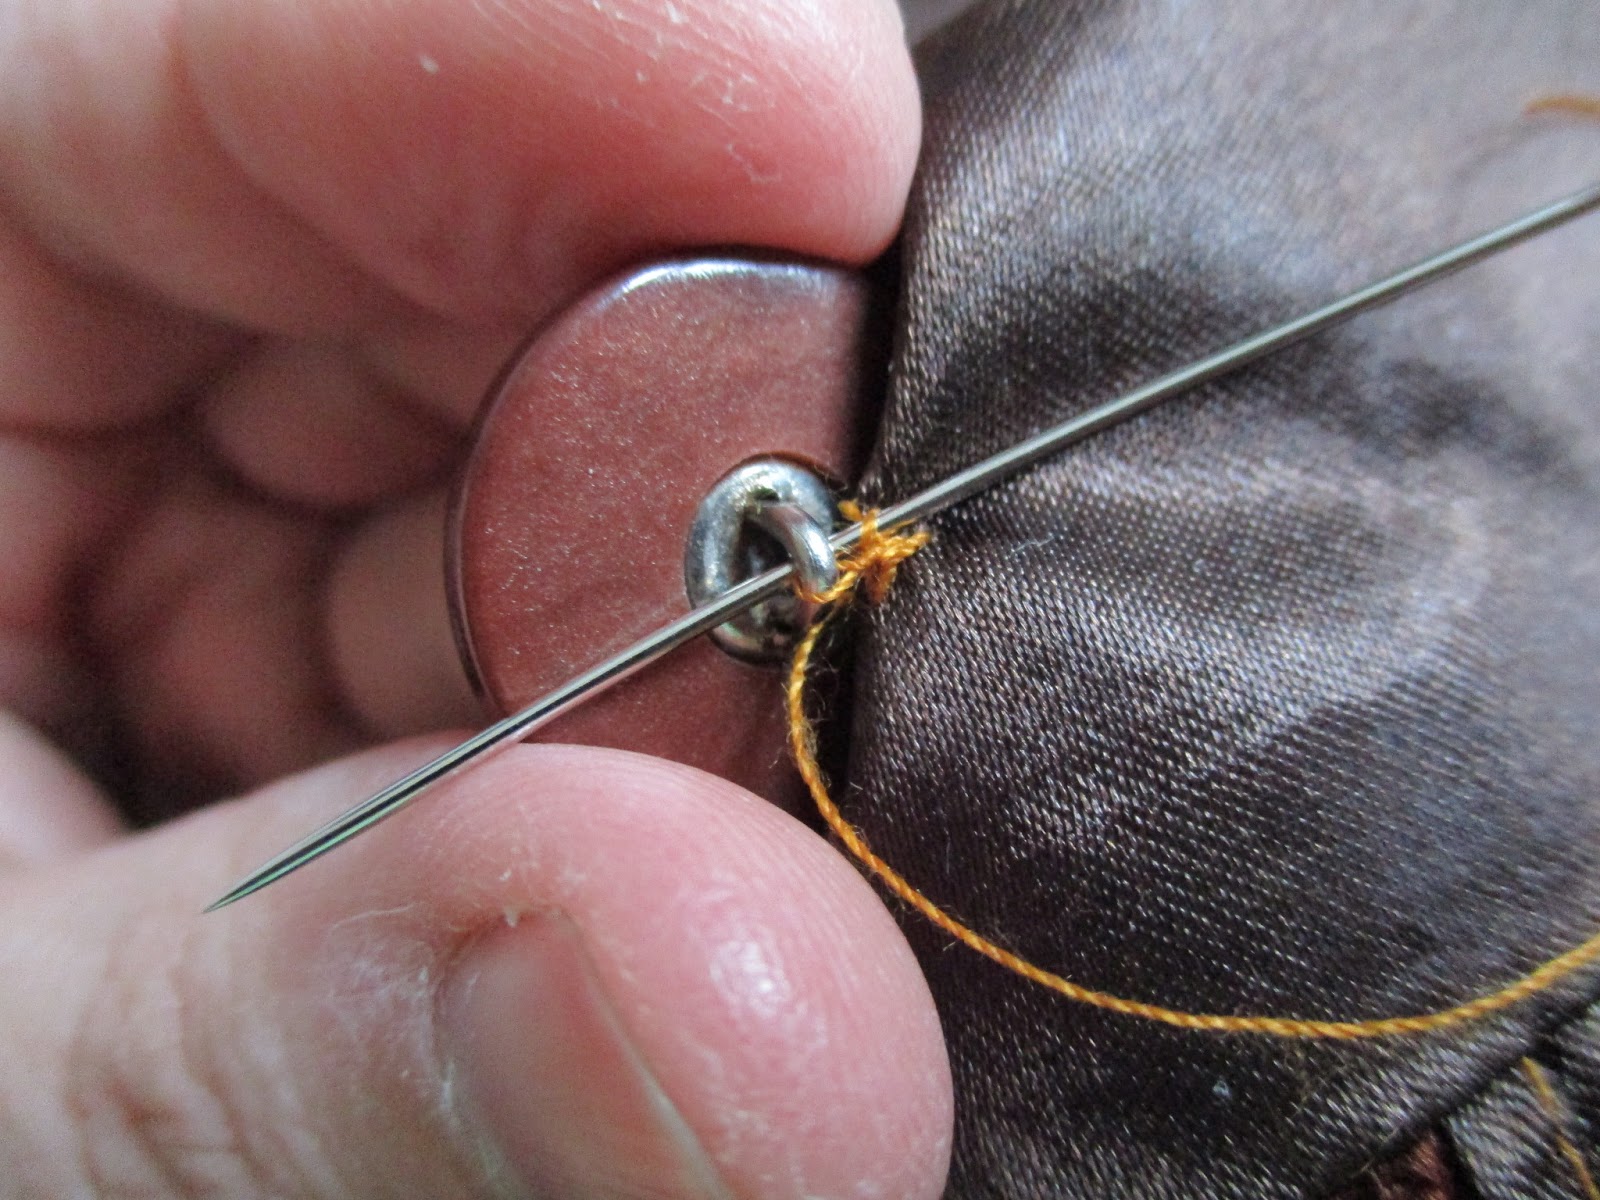
| Then pick up the shank button, and pull the needle through the button leg. |
 |
| Closer view as it looks. |
 |
| Then several times sew a button on a waistband. |
 |
| Button sewing. |
 |
| Button is sewn. |
 |
| Button is sewn. |
 |
| Buttons strengthening. The first step. |
 |
| Buttons strengthening. The second step. |
 |
| Buttons strengthening. The third step. |
 |
| View from the side. |
 |
| The last step. Again, establishing a loop, and push the needle through the loop. |
 |
| Then several times establishing a loop, and push the needle through the loop. |
 |
| Well here, it looks sewn shank button. |
 |
| Cleanly worked. A place where sewn button,View from the other side. |
 |
| Now you can close skirt waistband.. |
 |
| Closed waistband, view from inside. |