Sew pencil skirt with lining. Step 14, how to sew a straight waistband to the waist line of the skirt?
(See next step 15, how to create a buttonhole on the overlap of the waistband?)
(See previous step 13, how to sew a lining to the waist line of the skirt?)
Take your fusible interfacing. Identify which side of the fusible interfacing has the adhesive on it. The adhesive side has a slight shininess from the glue. Please Note: Click on photo to see a larges size.
Then lay out your straight waistband fabric piece on the fusible interfacing as shown in the picture below.
Then pin up the waistband fabric piece and the fusible interfacing together with pins.
Then take your tailor's shears and cut out fusible interfacing piece along the edges of the waistband fabric piece. Then remove pins.
Then lay straight waistband fabric piece with wrong side up onto the ironing board. Then lay fusible interfacing piece with the glue side facing the wrong side of the waistband fabric. Then press fusible interfacing piece, use the moisture press cloth.
See how look waistband with pressed fusible interfacing piece.
Now, your skirt consist of the skirt and the lining piece. Then take both narrow satin ribbons for hanging loops, and fold each satin ribbon in half. Then pin folded satin ribbons to the waist line, one on each side seam line.
Then baste (yellow thread) the satin ribbons to the waist line by hand, then remove pins.
Then pin left zipper opening seam allowance and a zipper tape together.
Then baste (yellow thread) left zipper opening seam allowance and a zipper tape together, then remove pins.
Then use a ruler and two dressmaker's pins, and mark the end of each short edge of the waistband, mark 3/8 inches (1 cm) away from the each short edge.
Then pin the unfinished long edge of the waistband to the the waist line of the skirt so that right side of the waistband will be facing with right side of the skirt.
View from the outside of the skirt.
Then baste (red thread) the waistband and the skirt together all around the waist line of the skirt by hand, then remove pins.
Then use a sewing machine and sew along the unfinished long edge of the waistband, it means that the top layer is a waistband, and the bottom layer is a skirt (skirt consist of the skirt and the lining pieces), and not vice versa. If so sew, then not formed pleats in the waist line of the skirt.
View from the outside of the skirt.
View from the inside again.
Then remove blue, red and yellow basting threads from the waistline, remove blue basting threads from the lining tucks, and remove yellow basting thread from the left zipper opening seam allowance and a zipper tape.
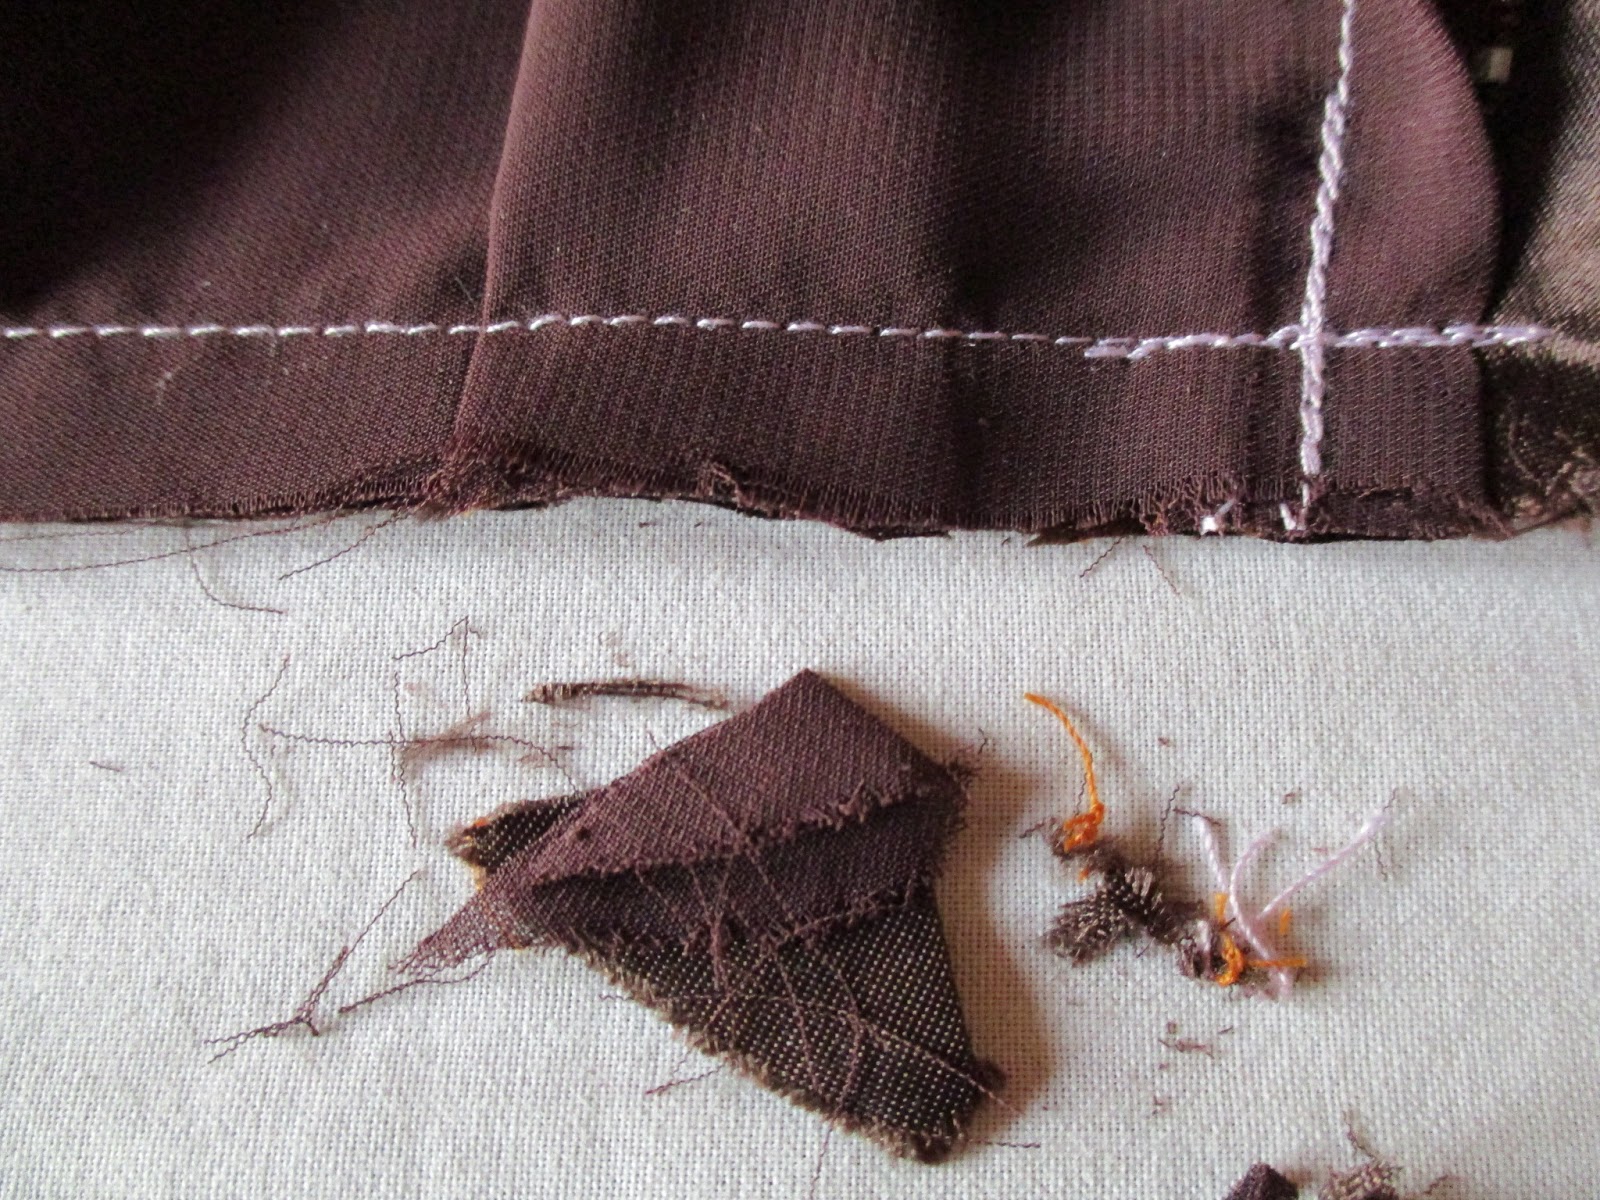
Then place the waistband on the ironing board and press along the seam line, use a moisture press cloth. Then use scissors and cut off any excess, see at the pictures below.
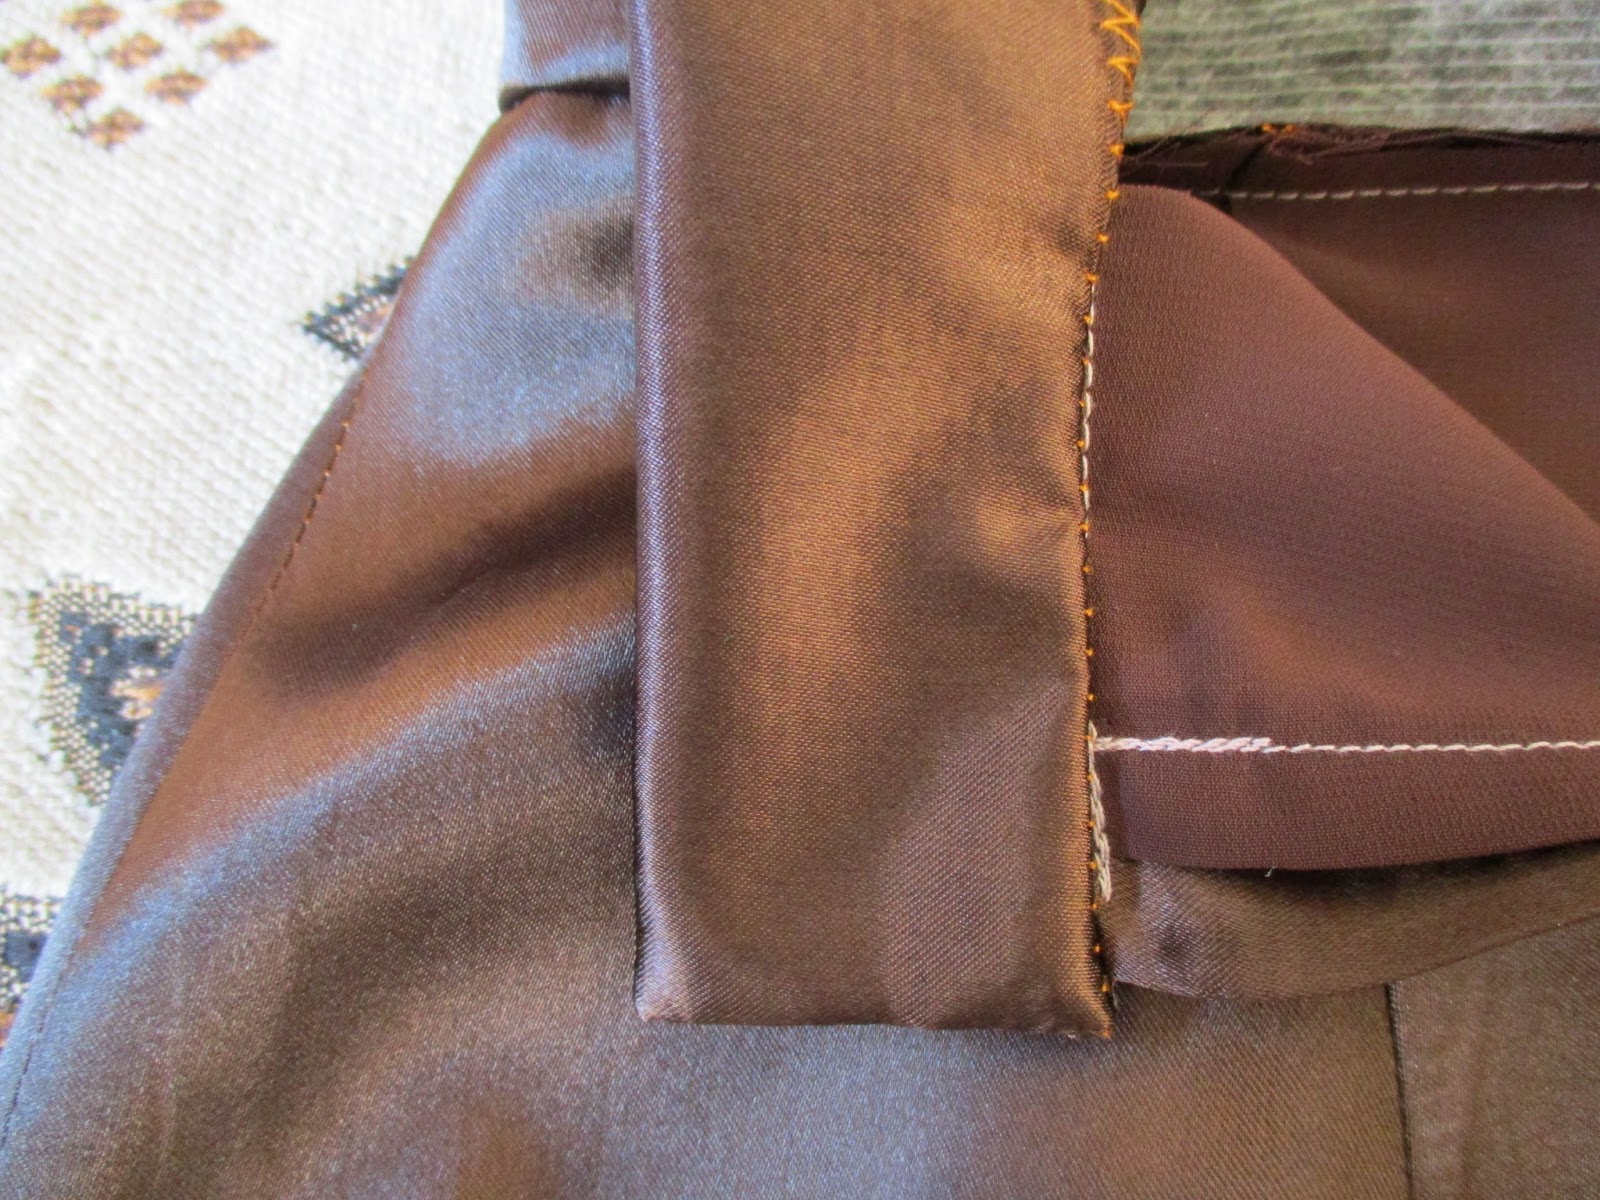
Then finish free long edge of the waistband fabric piece with zigzag stitch or overlock stitch, use sewing machine or serger/overlock machine.
Then place the finished long edge of the waistband on the ironing board and press from the right side, use a moisture press cloth.
See how look pressed finished long edge of the waistband.
Then pin up the ends of the waistband and the skirt together with pins, and use heavy paper, it helps.
Then baste (blue thread) up the ends of the waistband and the skirt together, then remove pins.
Then fold each skirt back panel (consist of the skirt and the lining piece) up.
Then turn the finished long edge of the waistband over the wrong side of the skirt back panels, and pin both finished and unfinished long edges of the waistband together. Pin along the waist line of the skirt, edges of the extensions and ends of the waistband. Please Note, keep your skirt back panels out of the way while pin.
Then baste (yellow thread), and then remove pins.
Then use a sewing machine and sew along the ends of the waistband, edges of the extensions and waist line of the skirt. When sew use baking paper, it helps. Then remove yellow basting threads and baking papers. Please Note, sew along the waistline of approximately 2 3/4 inches (7 cm).
Then turn the extensions of the waistband right side out, do not forget to pull out the corners of the extensions.
Then pin the seam allowances of the waist seam up towards the waistband.
View from the inside of the skirt.
Then baste (blue thread)) the seam allowances up towards the waistband, then remove pins.
View from the inside of the skirt.
Then pin the finished edge of the waistband to the inside of the skirt, ensure that the finished edge of the waistband overlaps the waist seam.
Then baste (yellow thread) the finished edge of the waistband to the inside of the skirt, then remove pins.
View from the inside of the skirt.
Then use a sewing machine and sew from the right side of the skirt, exactly within the seam line, where the skirt join the waistband. Then remove any visible blue and yellow basting thread.
View from the inside of the skirt.
Then place the waistband on the ironing board and press from the right and wrong sides, use a moisture press cloth.
See how look pressed waistband.


No comments:
Post a Comment