Sew pencil skirt with lining. Step 12, how to sew a lining?
(See next step 13, how to sew a lining to the waist line of the skirt?)
(See previous step 11, how to sew a hem?)
If you want to sew lining for pencil skirt, then you can use your pencil skirt paper pattern pieces. Only lining length will be about 2 3/8 inches (6 cm) shorter than the skirt length.
So, to make lining sewing patterns (front and back pieces), then take your both skirt paper pattern pieces (front and back). Then you can use a marker and a ruler and mark lining bottom line on each skirt pattern piece. How it looks, see pictures below.
Then fold each skirt pattern piece along red line. If you want, then you can pin folded edge and the pattern piece together. Please Note, when you sew thin fabric, then you can do as I to use baking paper, it helps to sew seam lines.
Please Note: Click on photo to see a larges size.
Then if you bought 58 – 60 inches (1,5 m) wide lining fabric, you need to fold your lining fabric in half lengthwise with fabric right sides facing in.
Then lay out both lining paper pattern pieces on the lining fabric as shown in the picture below.
Then pin up the lining paper pattern pieces and the lining fabric together with pins. Pin the paper pattern pieces so the both ends of grain lines are in equal distance from the fabric selvages.
Then add seam allowances, use ruler and a sliver of soap:
- waistline: 3/8 inches (1 cm)
- side lines: 1 inch (2,5 cm)
- center back: 1 inch (2,5 cm)
- hem line: 3/4 inches (2 cm)
Then pin the both layers of the seam allowances together along the paper pattern edges.
Then cut out the lining fabric pieces along the white lines (soap lines).
Please Note, skirt lining will not be with darts, but will be with tucks. Tucks will be in places where there was darts.
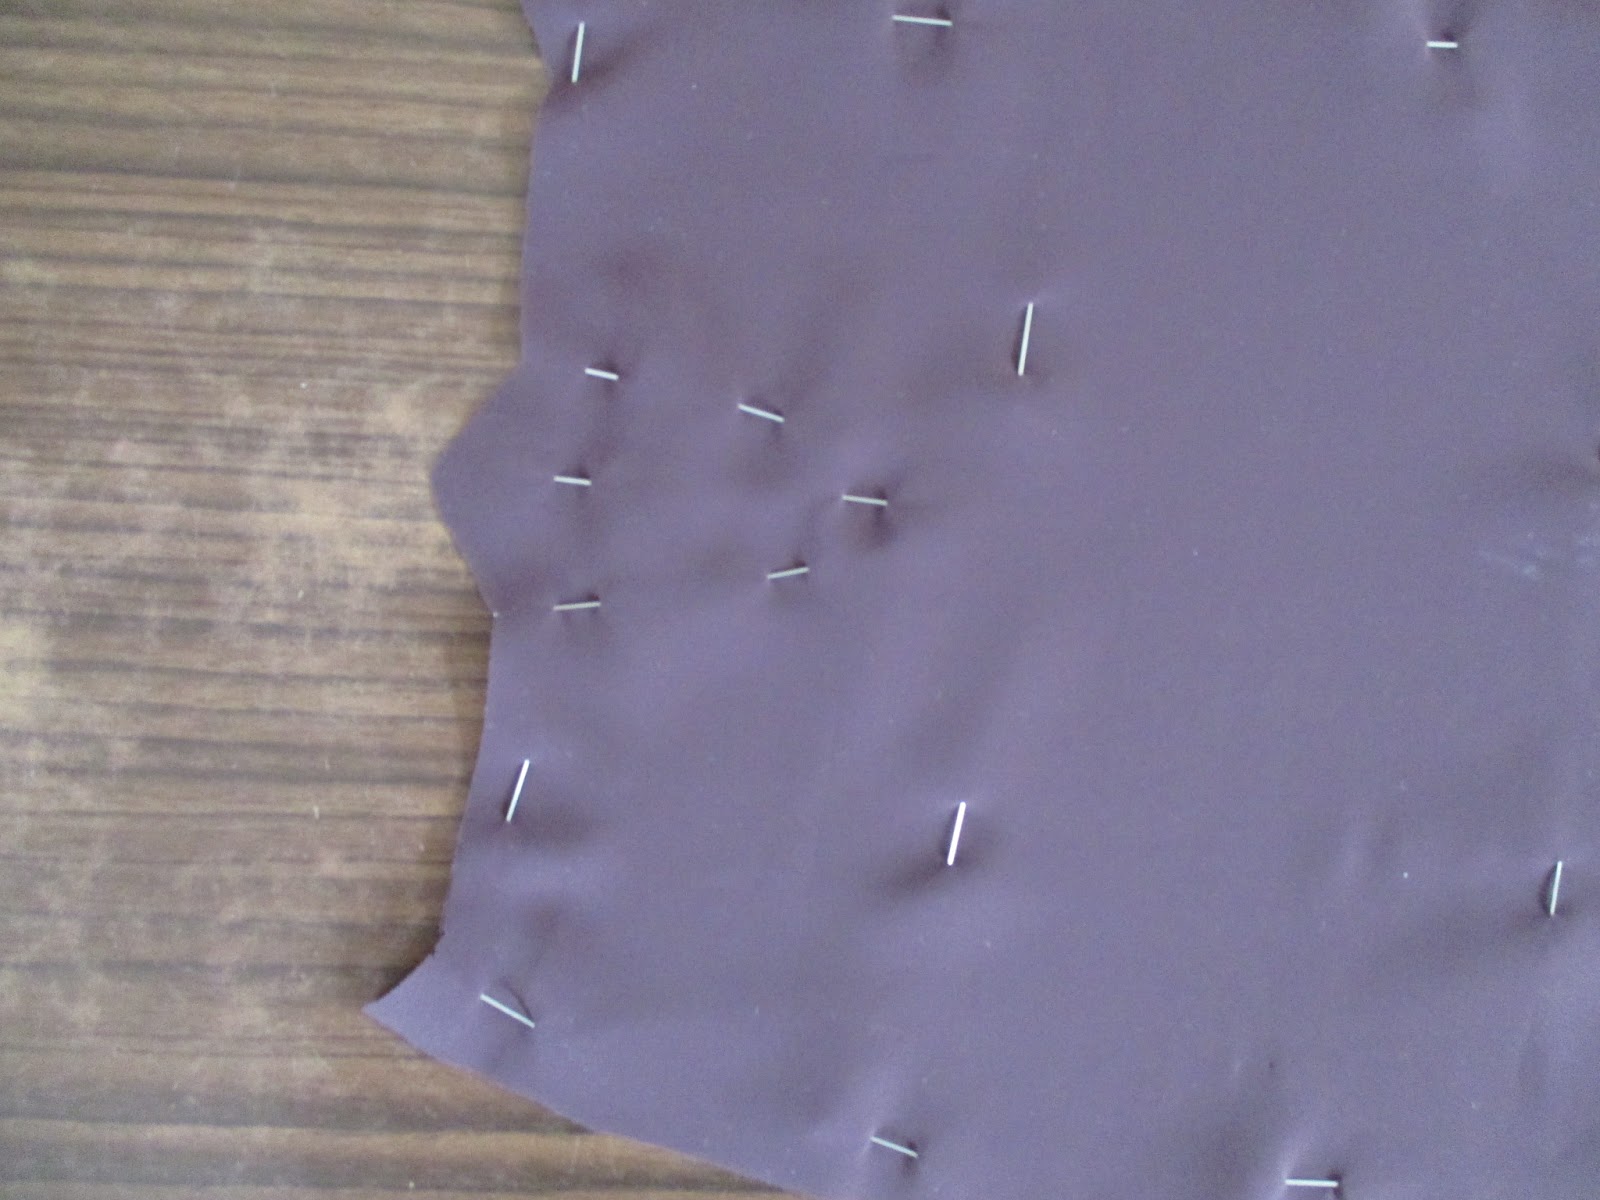
Then take both lining back panels, left and right. The photos below shows that both panels are pinned together.
Then highlight the center back seam line harder to be better seen, using a piece of soap and a ruler.
Then you need to copy tuck from one panel to the other panel, using dressmaker pins, piece of soap and a ruler. Seen pictures below in order to better understand what needs to be done.
Then baste both lining back panels together along the center back seam line, using hand sewing needle and basting thread.
Now, you can see how to look both tucks, and center back seam line with basting stitches.
Then highlight both side seam lines harder to be better seen, using a piece of soap and a ruler.
Then take the lining front piece which is folded in half and is pinned together. Then you need to copy tuck from one side to the other side, using dressmaker pins, piece of soap and a ruler. Seen pictures below in order to better understand what needs to be done.
It's done.
Then take lining back and lining front pieces again. Then lay both pieces together, fabric right sides facing in. Then pin both pieces together along the side seam lines.
Then baste (blue thread) side seam lines together by hand, then remove pins.
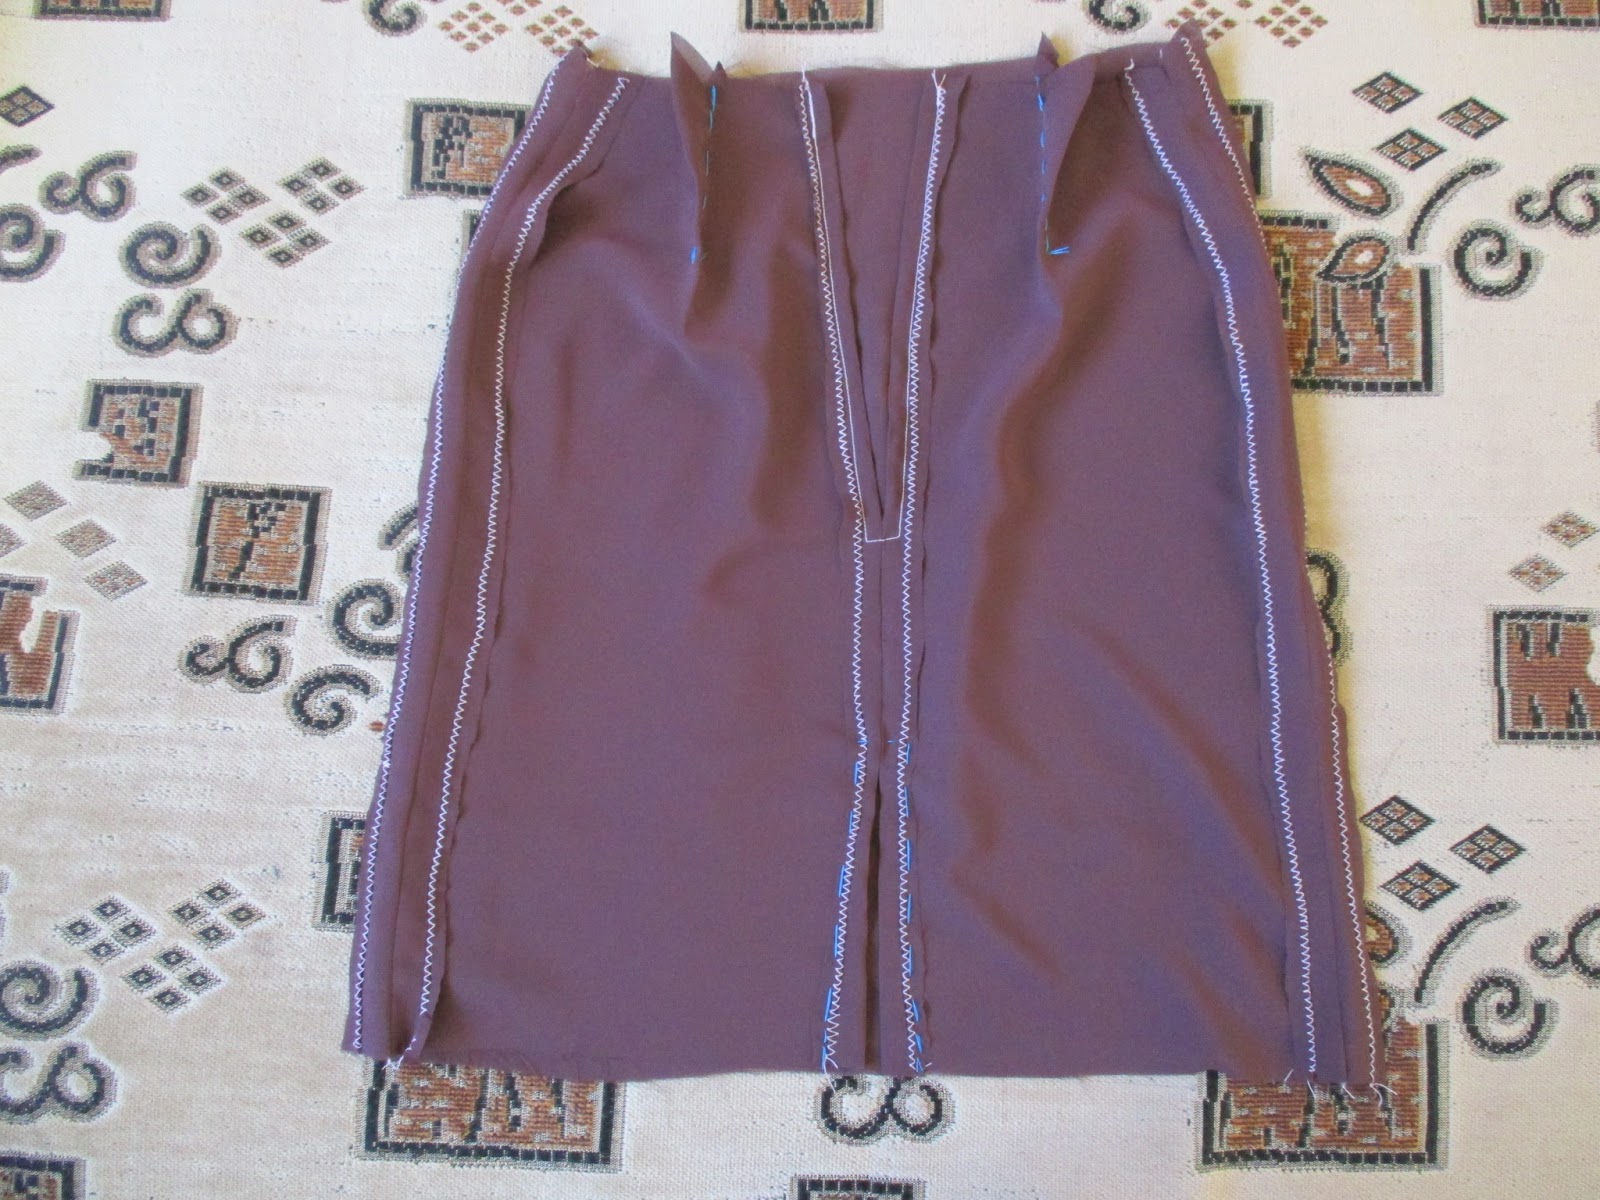
Each lining back panel has one tuck. The lining front piece has two tucks. Each tuck has two side lines and a midline. Then fold each tuck along the midline. Then pin each tuck together along the side lines. Pin from the top of the tuck to the bottom of the tuck.
Then baste side lines together by hand, then remove pins. Please Note, you only baste the tucks, and remove the basting threads from the tucks when you will sew the lining to the skirt.
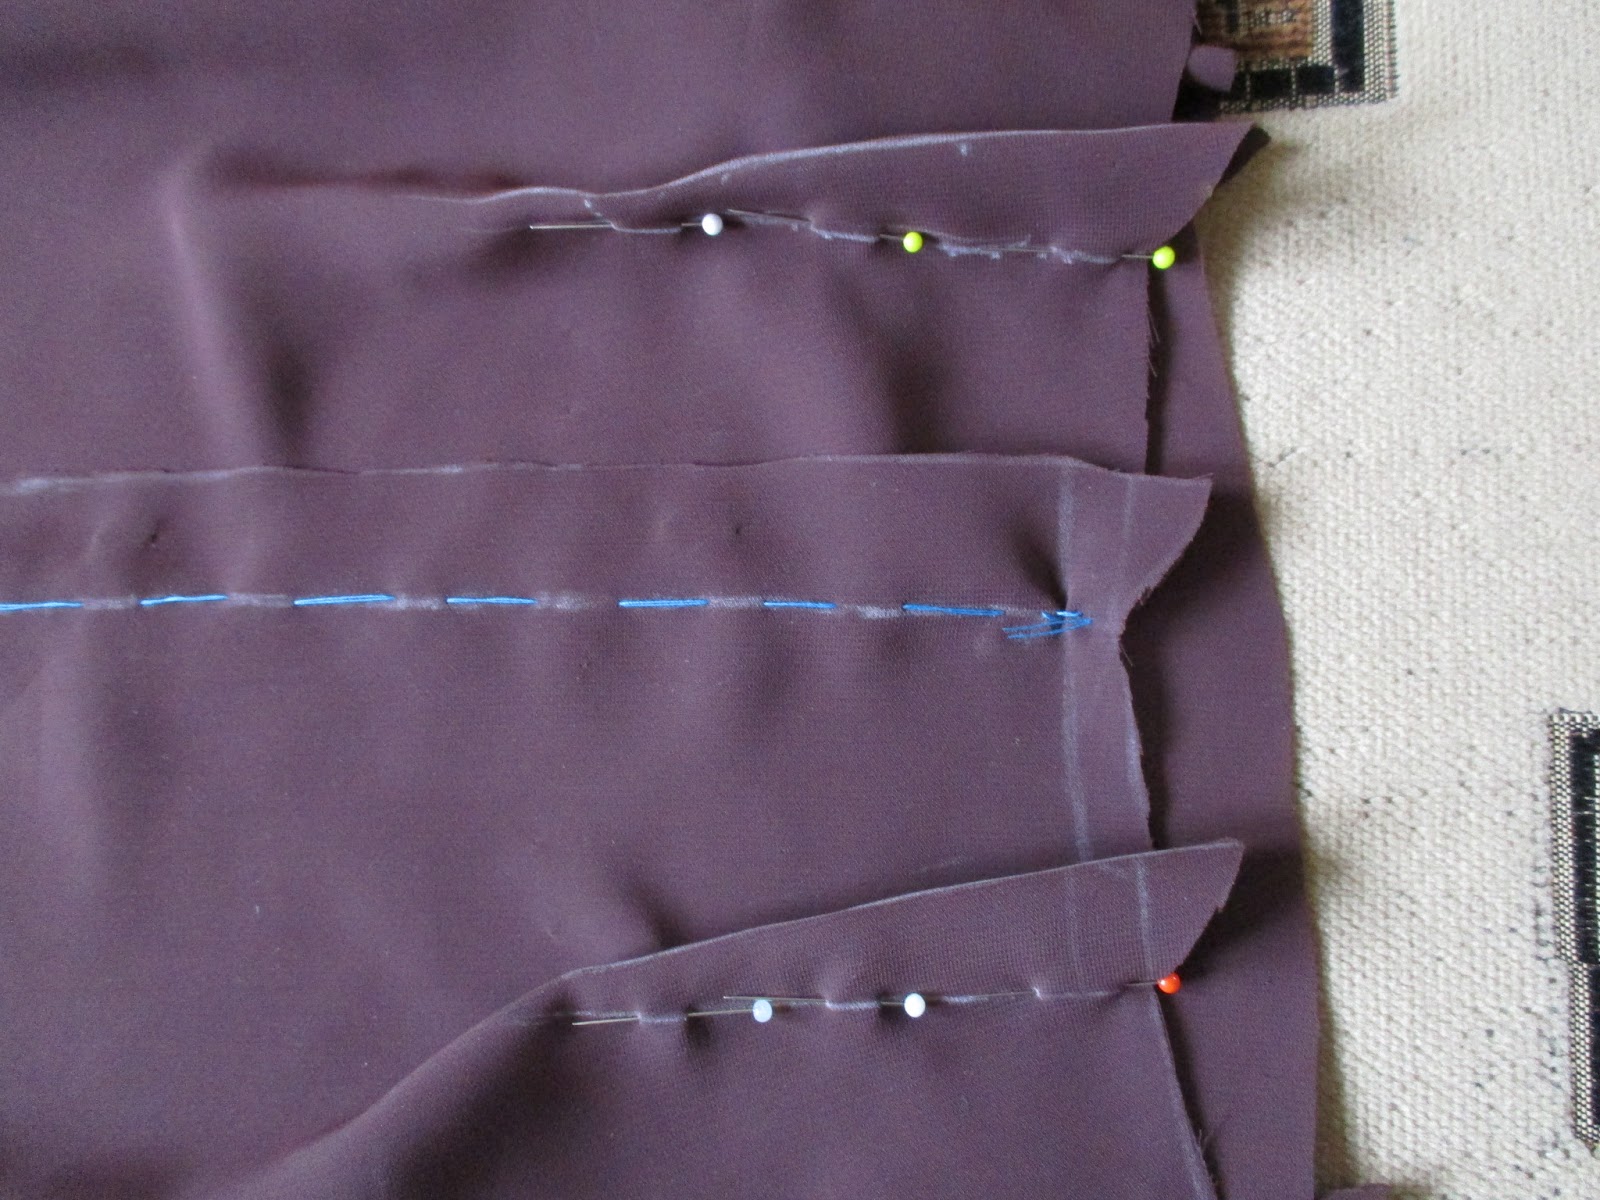
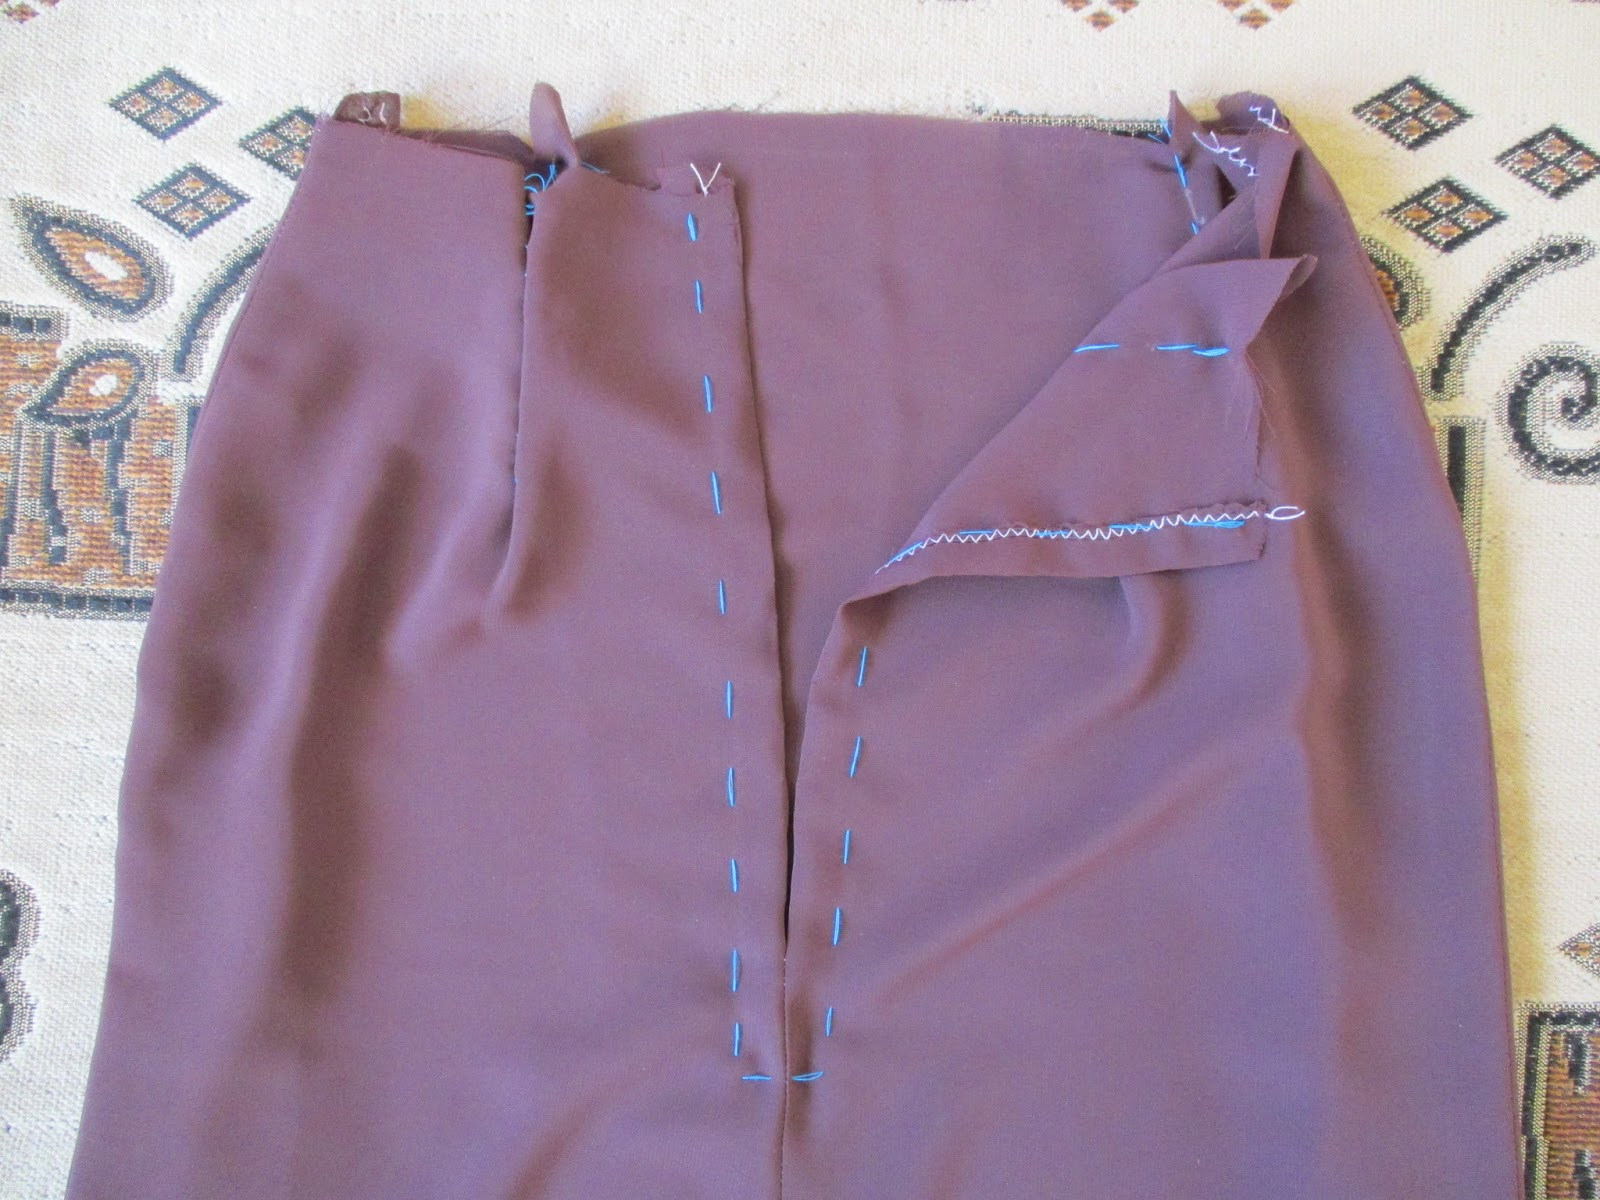
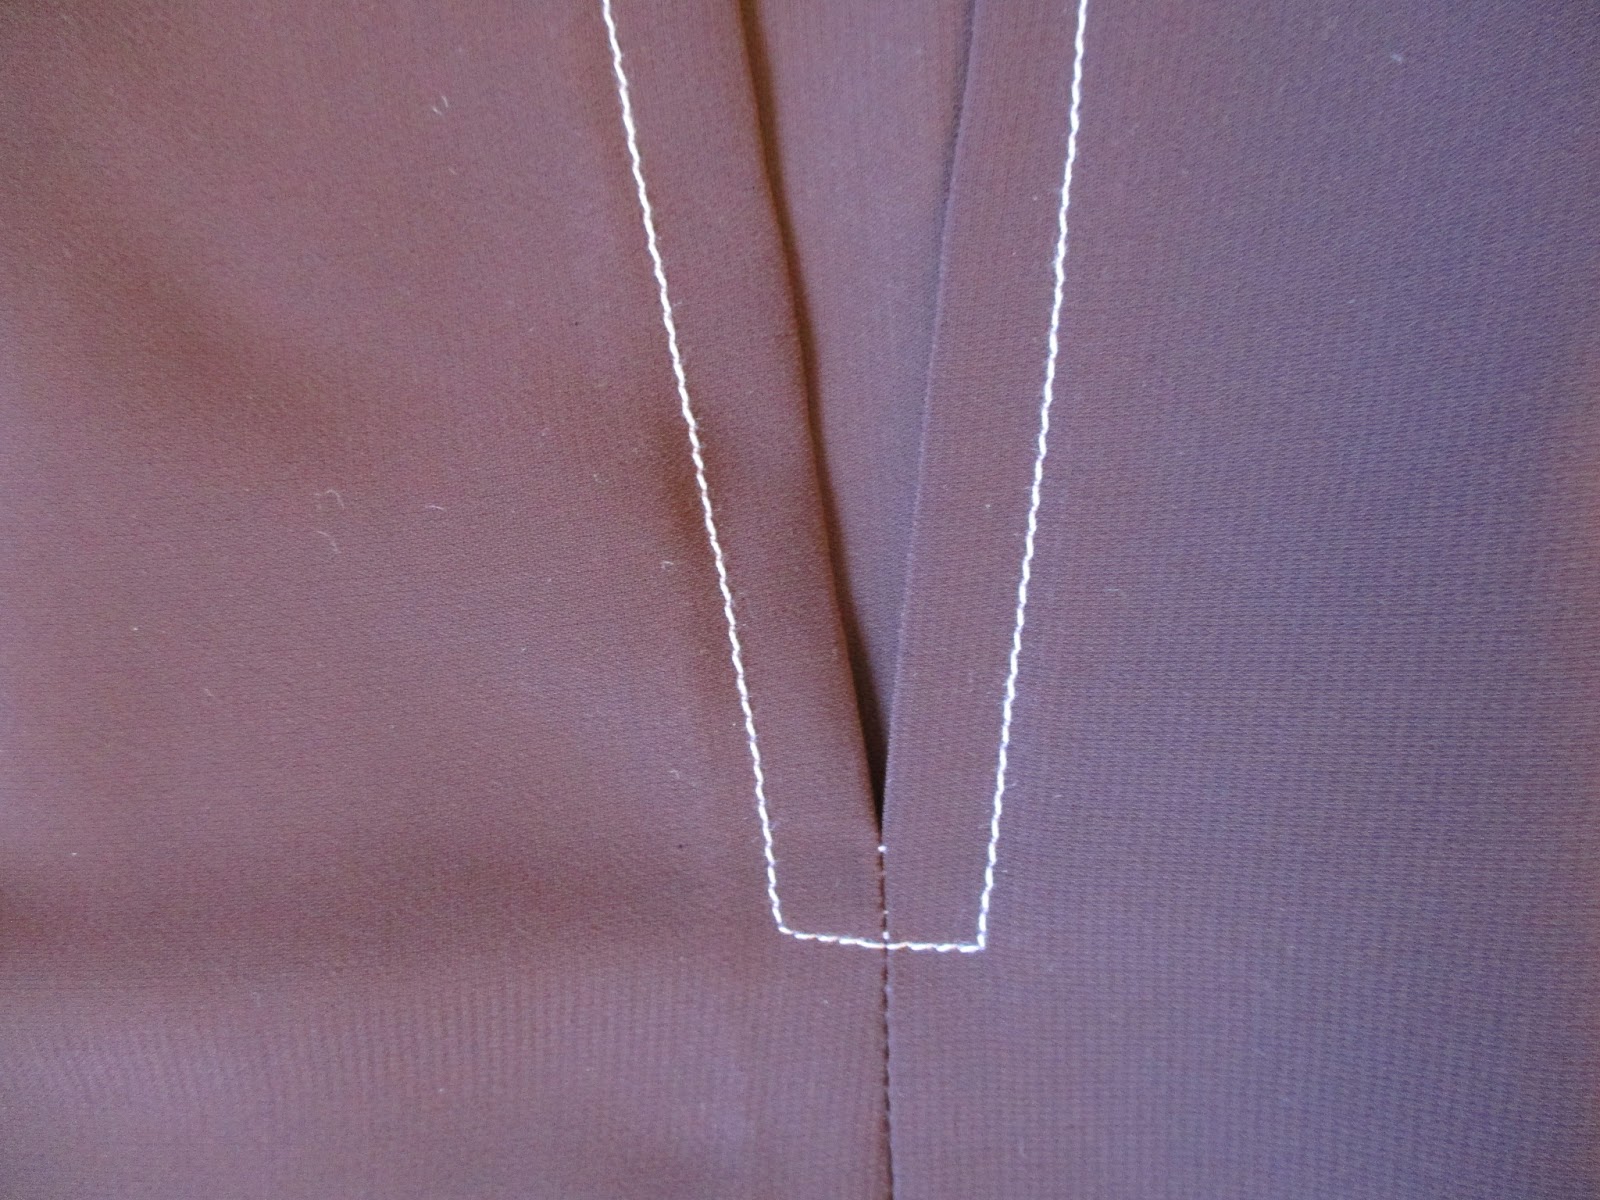
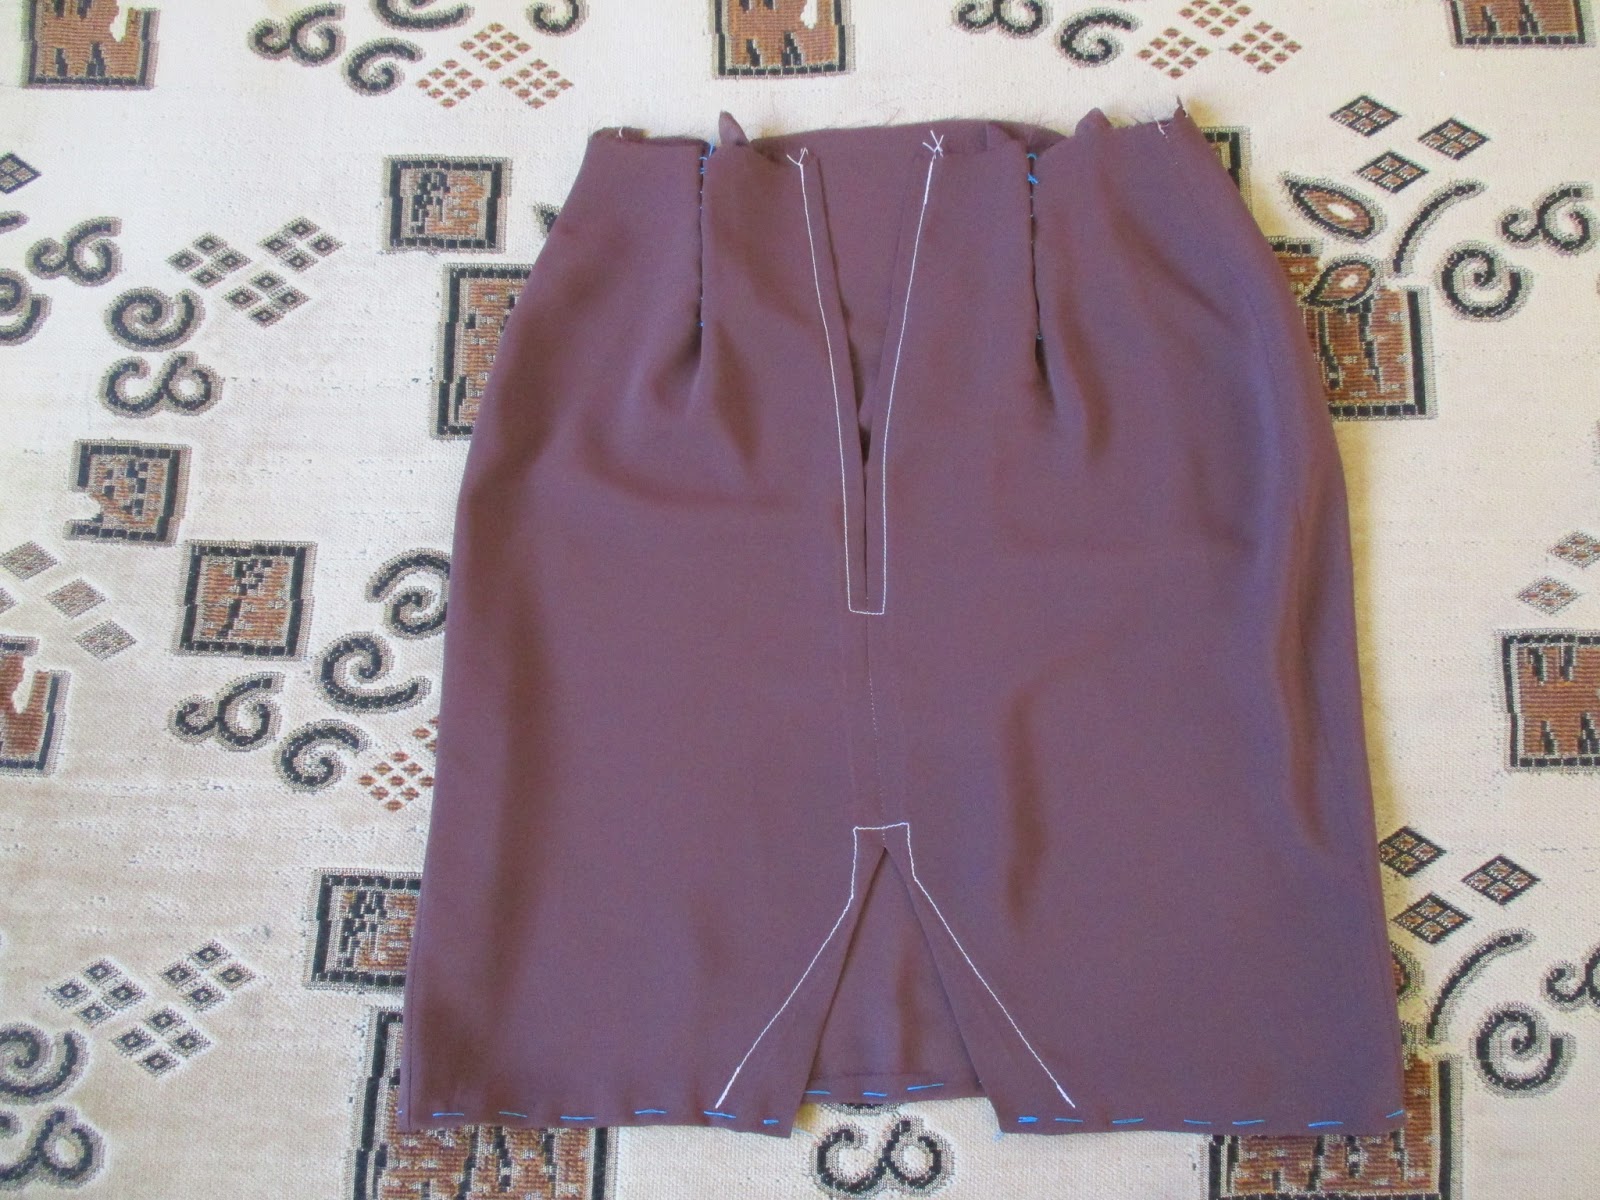
Then determine where lining vent and zipper openings will be. It means, determine bottom of zipper opening and top of vent opening. Therefore take pencil skirt, skirt lining, piece of soap, ruler and look at the pictures below to understand how to do it. The upper white line is bottom of zipper opening, and bottom white line is top of vent opening.
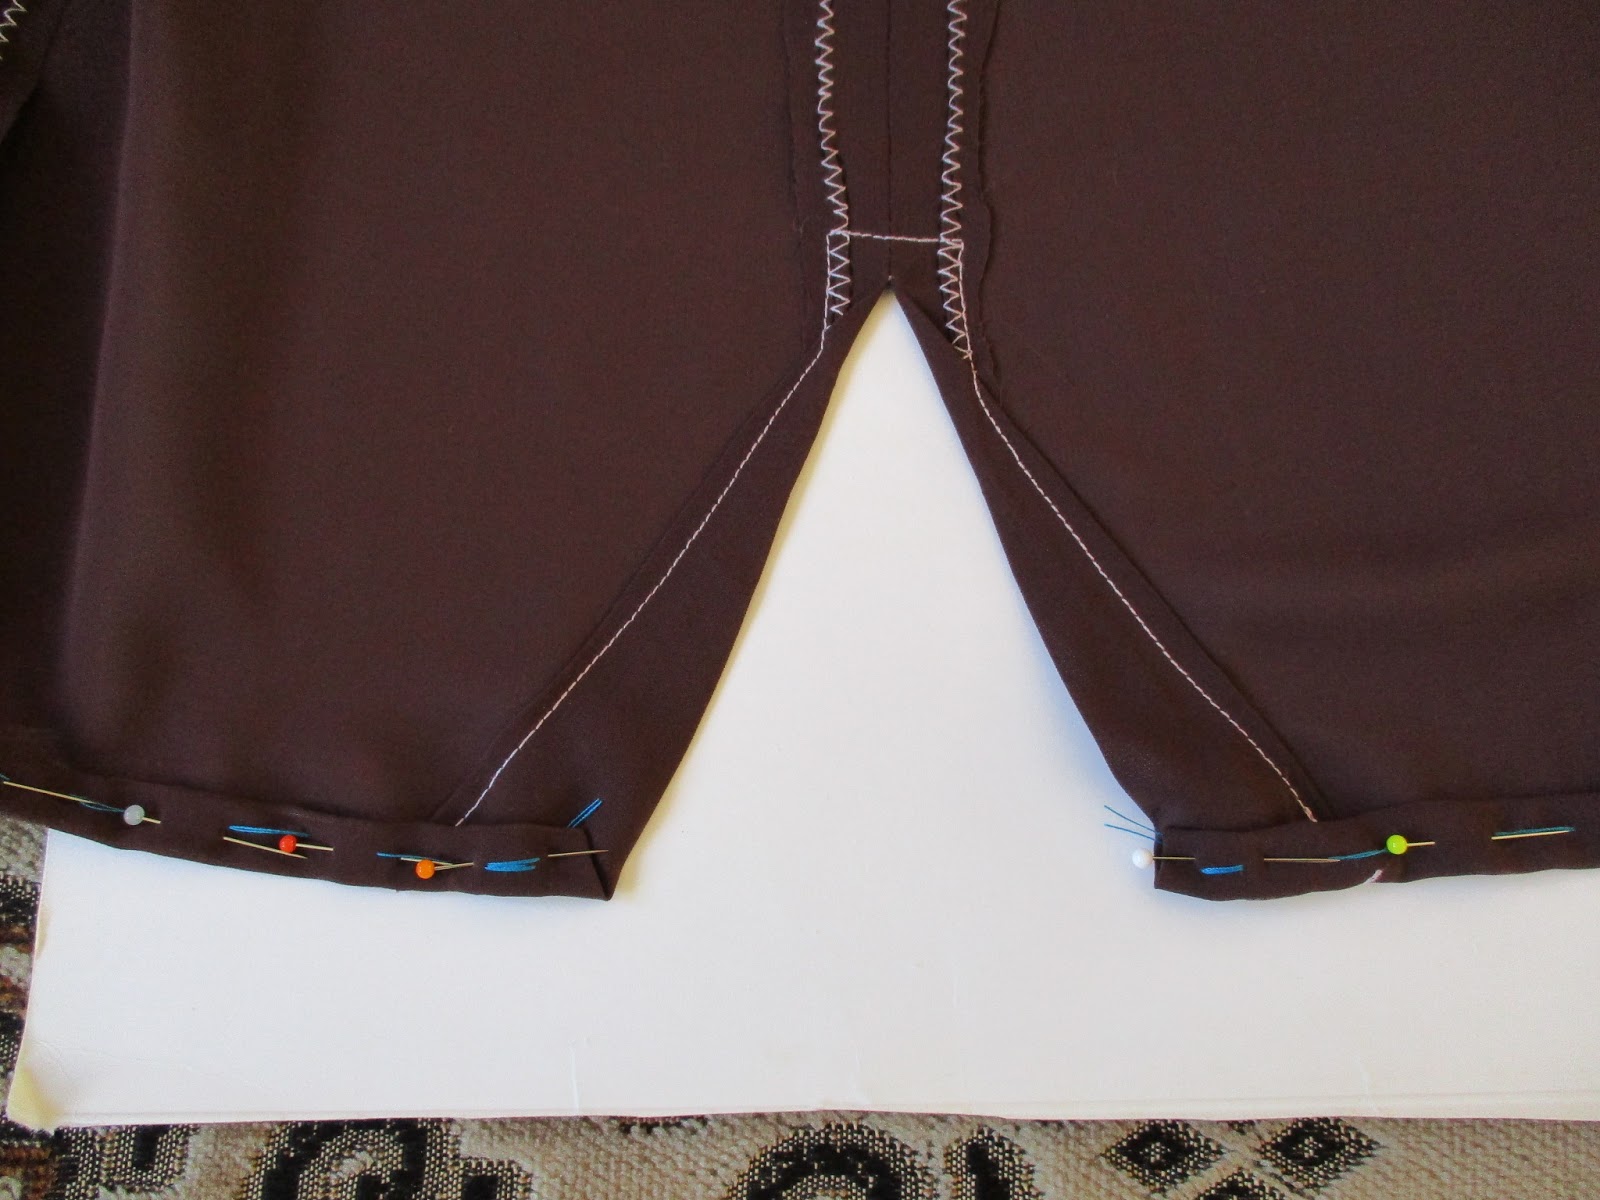
Then use a sewing machine and sew along the center back seam line, sew from the upper white line to the bottom white line. Do not remove the blue basting thread from the center back seam line yet.
Then use a sewing machine and sew along the side seam lines (left and right), then remove the blue basting threads. Please Note, Not to sew along the side seam lines but a little further because the skirt lining is a little bit, a little narrower than the skirt. Sew as shown in the pictures below.
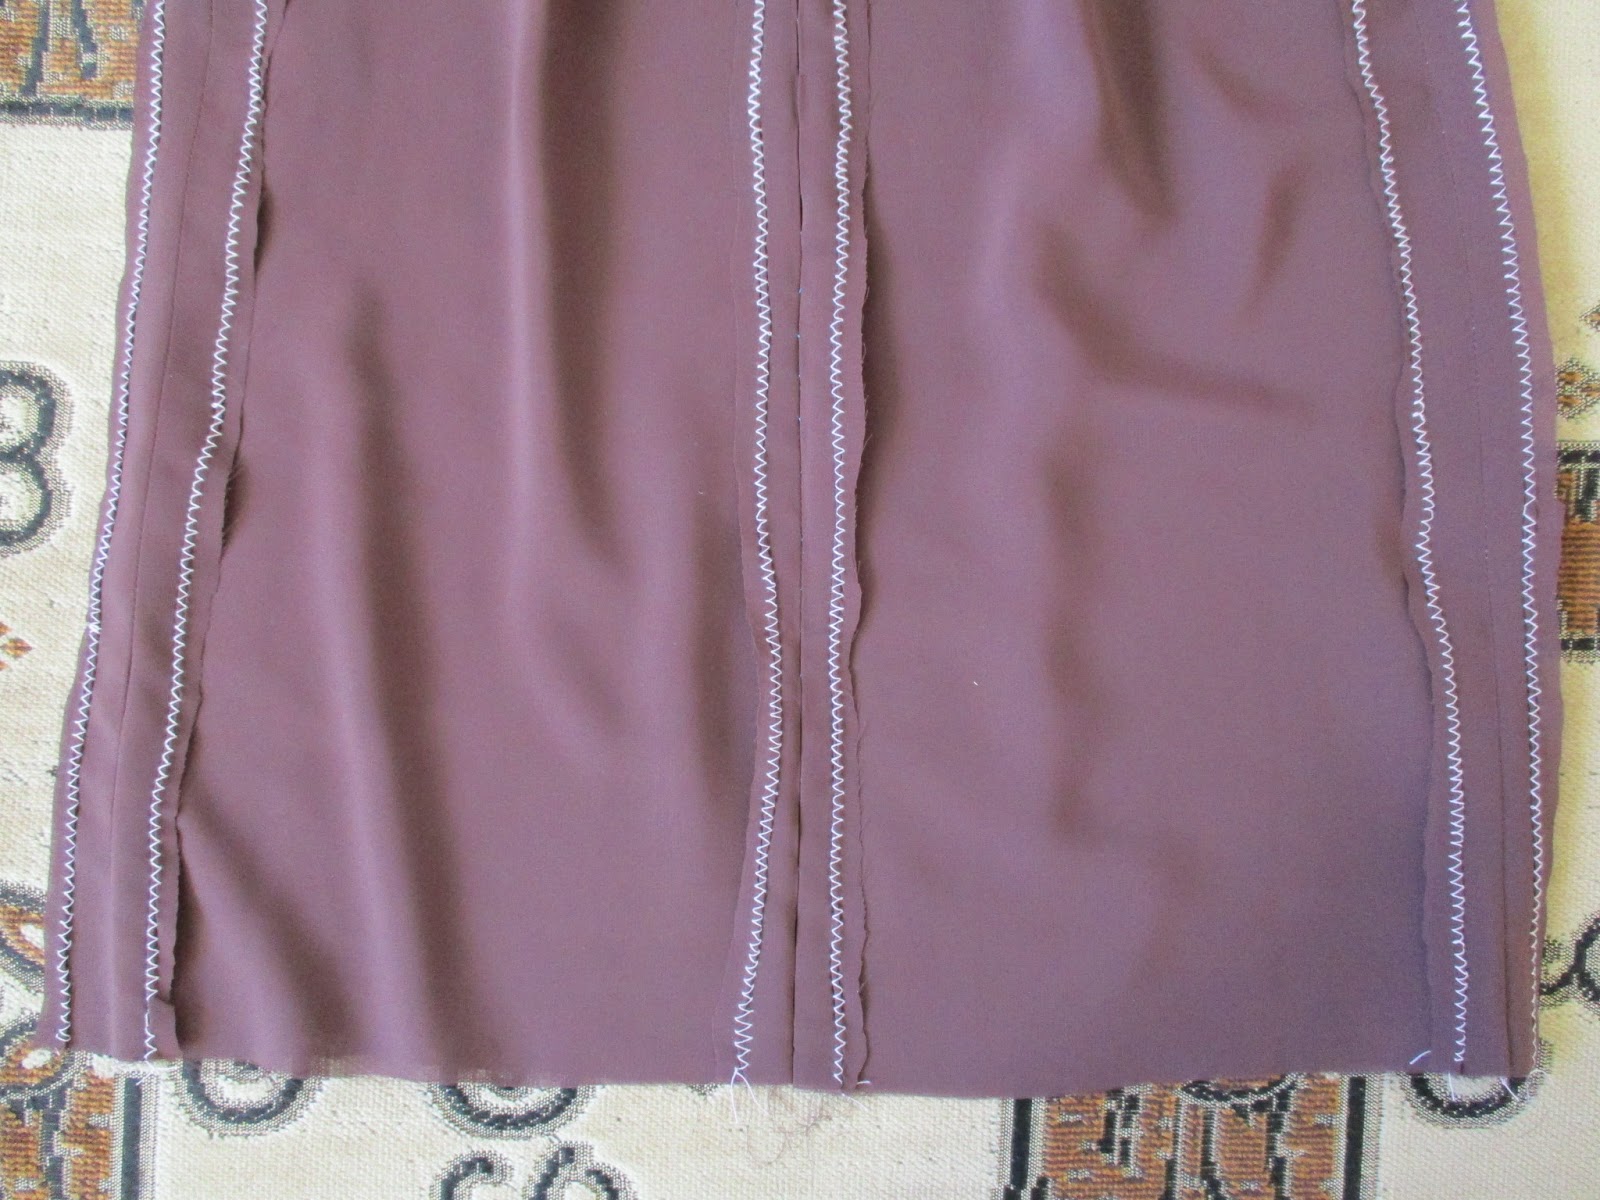
Finish the edges of the side seam allowances with zigzag stitch or overlock stitch, use sewing machine or serger/overlock machine.


Then press along the left and right side seam lines, use a moisture press cloth.
Then press along the center back seam line, use a moisture press cloth.
Then with a hot iron easy open side and center back seam allowances.
Then press the side and center back seam allowances open, use a moisture press cloth. Then flip the lining over and press (finish press) the side and center back seams from the right side, seam allowances are opened, use a moisture press cloth.
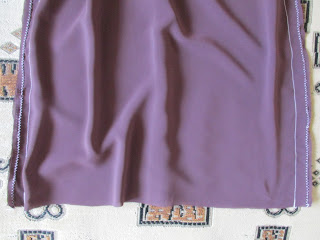
See how look pressed seam allowances.
See how look pressed seams.
Then turn your lining wrong side out and place the center back seam line flat on your work board. Then you can remove blue basting thread from the center back seam line. Now, zipper and vent openings are open.
Then turn your skirt wrong side out. Then take a piece of heavy paper. Then place a piece of heavy paper in the place where there is a zipper opening. Then pin each zipper seam allowance to the each lining back panel along the zipper seam allowance fold line.
Then baste (blue thread) each zipper seam allowance to the each lining back panel along the zipper seam allowance fold line, then remove pins.
Then place a piece of heavy paper in the place where there is a vent opening.
Then pin each vent seam allowance to the each lining back panel along the vent seam allowance fold line.
Then baste (blue thread) each vent seam allowance to the each lining back panel along the vent seam allowance fold line, then remove pins.
This has been done. Basting zipper and vent openings, view from the outside of the lining.
Then turn your lining right side out. Then use a sewing machine and sew the topstitching on the right side of the lining. Sew from the top edge of the lining to the bottom of the zipper opening along the blue hand basting stitches, then sew across the bottom of the zipper opening, pivot, and sew up along the blue hand basting stitches.
View from the inside of the lining.
Then remove blue basting threads from the zipper opening, and pull the sewing threads to the inside.
View from the inside of the lining.
Then place your lining on your ironing arm board and press zipper opening from the wrong and right sides, use a moisture press cloth.
See, how will look pressed zipper opening.
Then place a piece of heavy paper in the place where there is a vent opening. Then pin each vent seam allowance to the each lining back panel again. But this time to understand how to pin, then you must make exactly as shown in pictures below.
Then baste (yellow thread) each vent seam allowance to the each lining back panel, then remove pins.
View from the outside of the lining.
Then remove blue basting thread from the vent opening, but leave yellow basting thread yet.
View from the inside of the lining.
Then use a sewing machine and sew along the yellow hand basting stitches, sew the topstitching on the wrong side of the lining. Please Note, I use baking paper it helps to sew thin fabric.
View from the outside of the lining.
Then first, remove baking paper from the vent opening.
View from the inside of the lining.
Then remove yellow basting thread from the vent opening, and pull the sewing threads to the inside. Then place your lining on your ironing board and press vent opening from the wrong and right sides, use a moisture press cloth.
See, how will look pressed vent opening.
View from the inside of the lining.
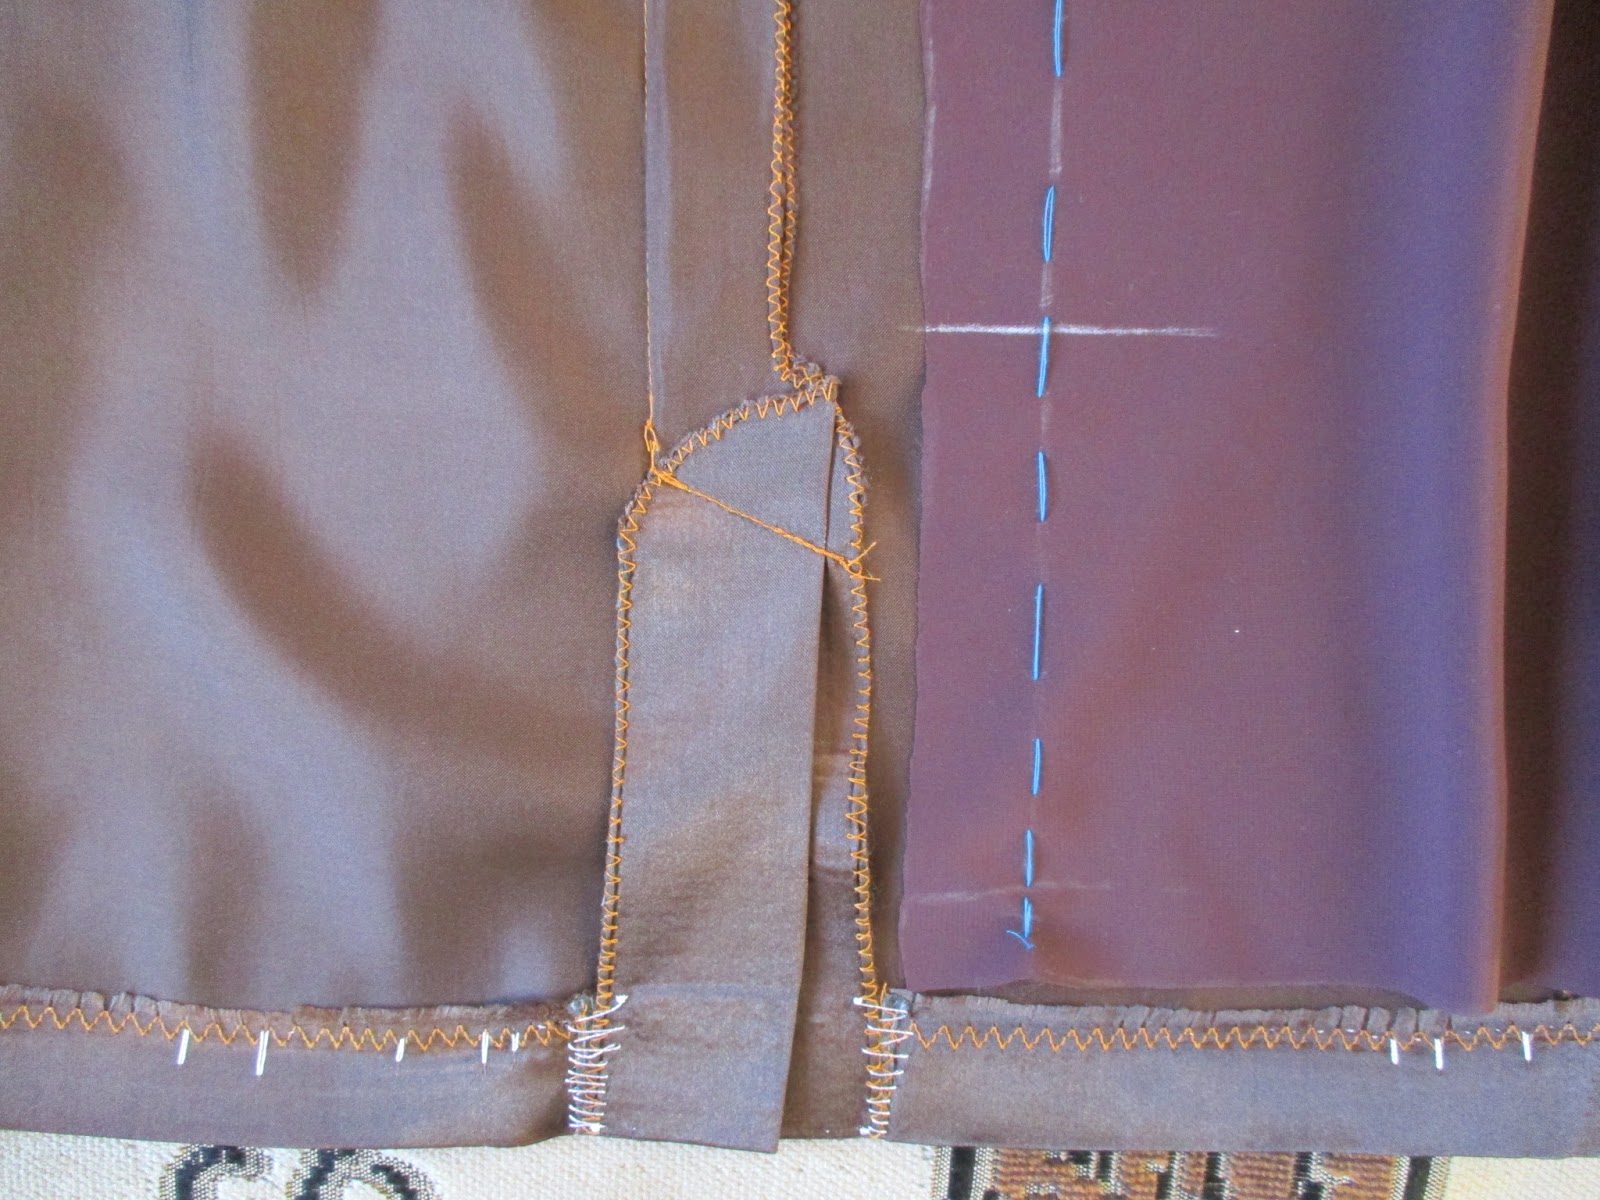
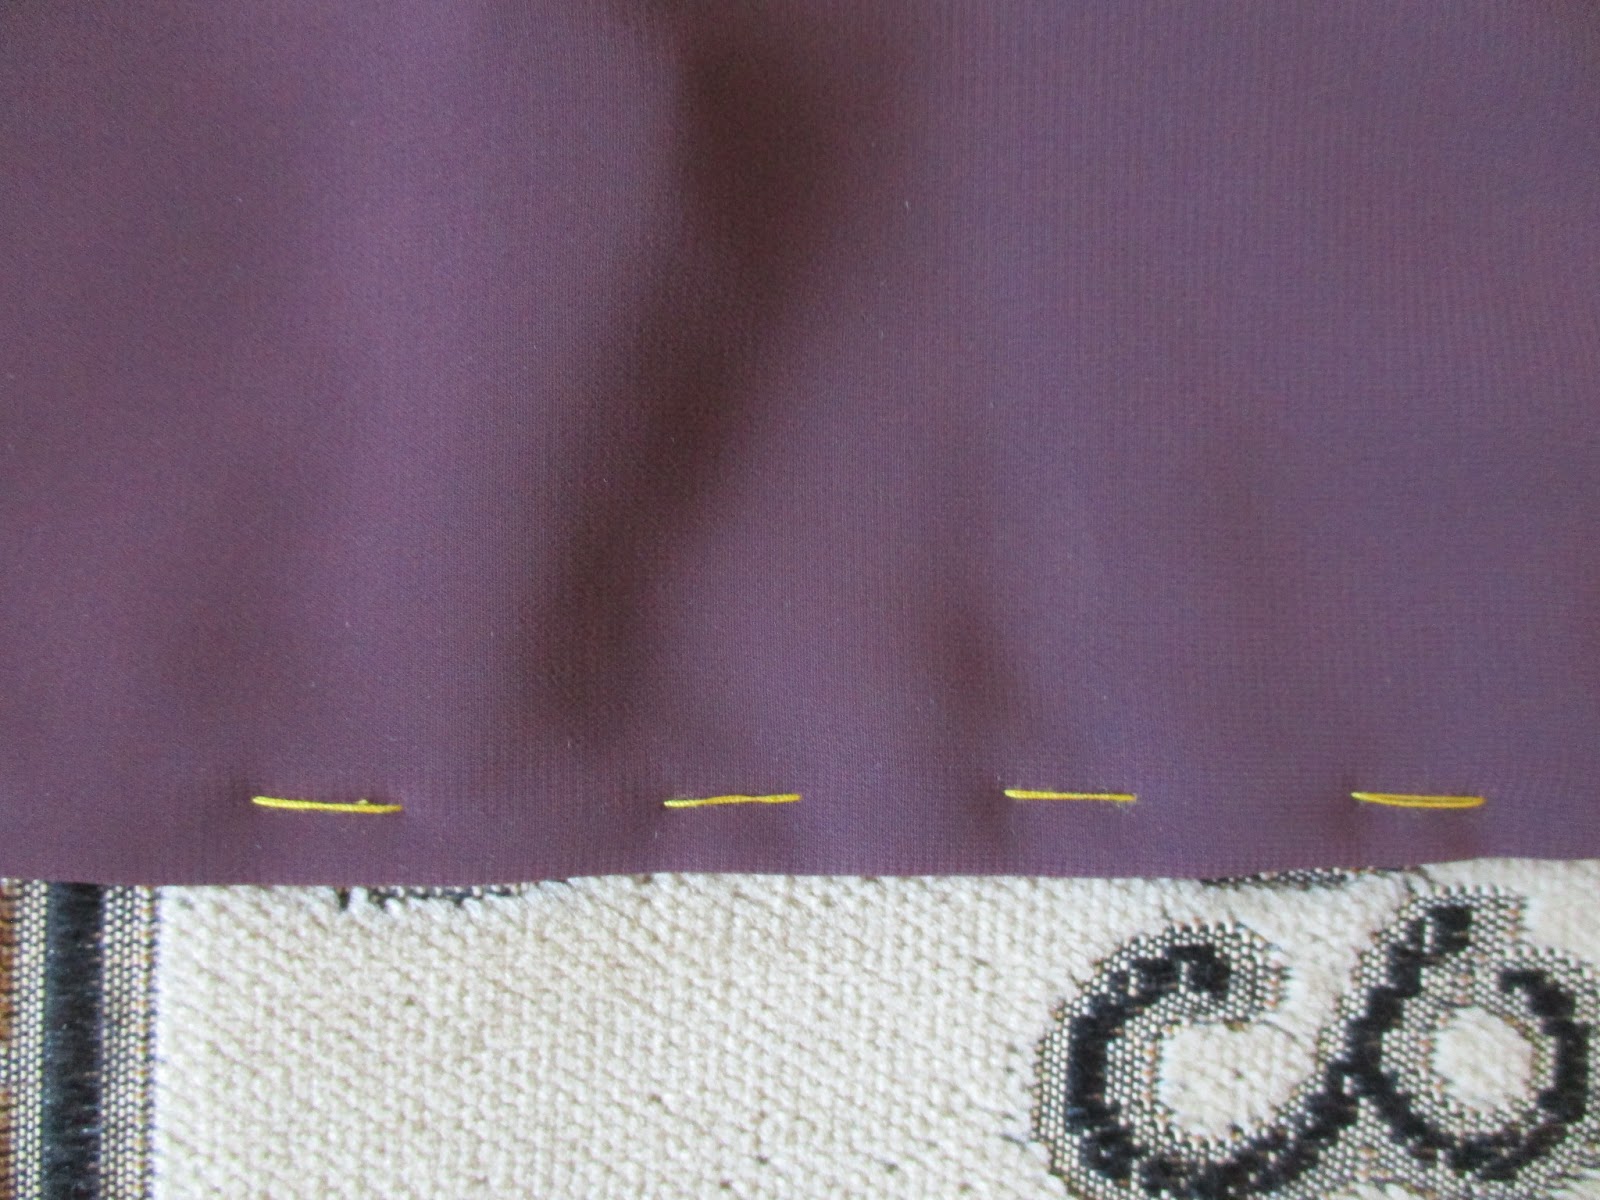
Then turn your lining right side out and place the bottom edge of the lining flat on your work board. Then use a ruler and a sliver of the soap, and draw the small horizontal lines, 3/8 inches (1 cm) away from the bottom edge of the lining.
Then turn your lining wrong side out and place a piece of heavy paper in the place where there is a vent opening. Then fold up the bottom edge of the lining along the small horizontal lines, and pin the fold in place.
Then baste (blue thread) the fold and the lining together, then remove pins.
View from the outside of the lining.
Then use a ruler and a sliver of the soap again, and draw the small horizontal lines, 3/8 inches (1 cm) away from the bottom edge of the lining.
Then turn your lining wrong side out and place a piece of heavy paper in the place where there is a vent opening. Then fold another 3/8 inches (1cm) and pin again.
View from the outside of the lining.
Then baste (yellow thread) the fold and the lining together again, then remove pins.
View from the outside of the lining.
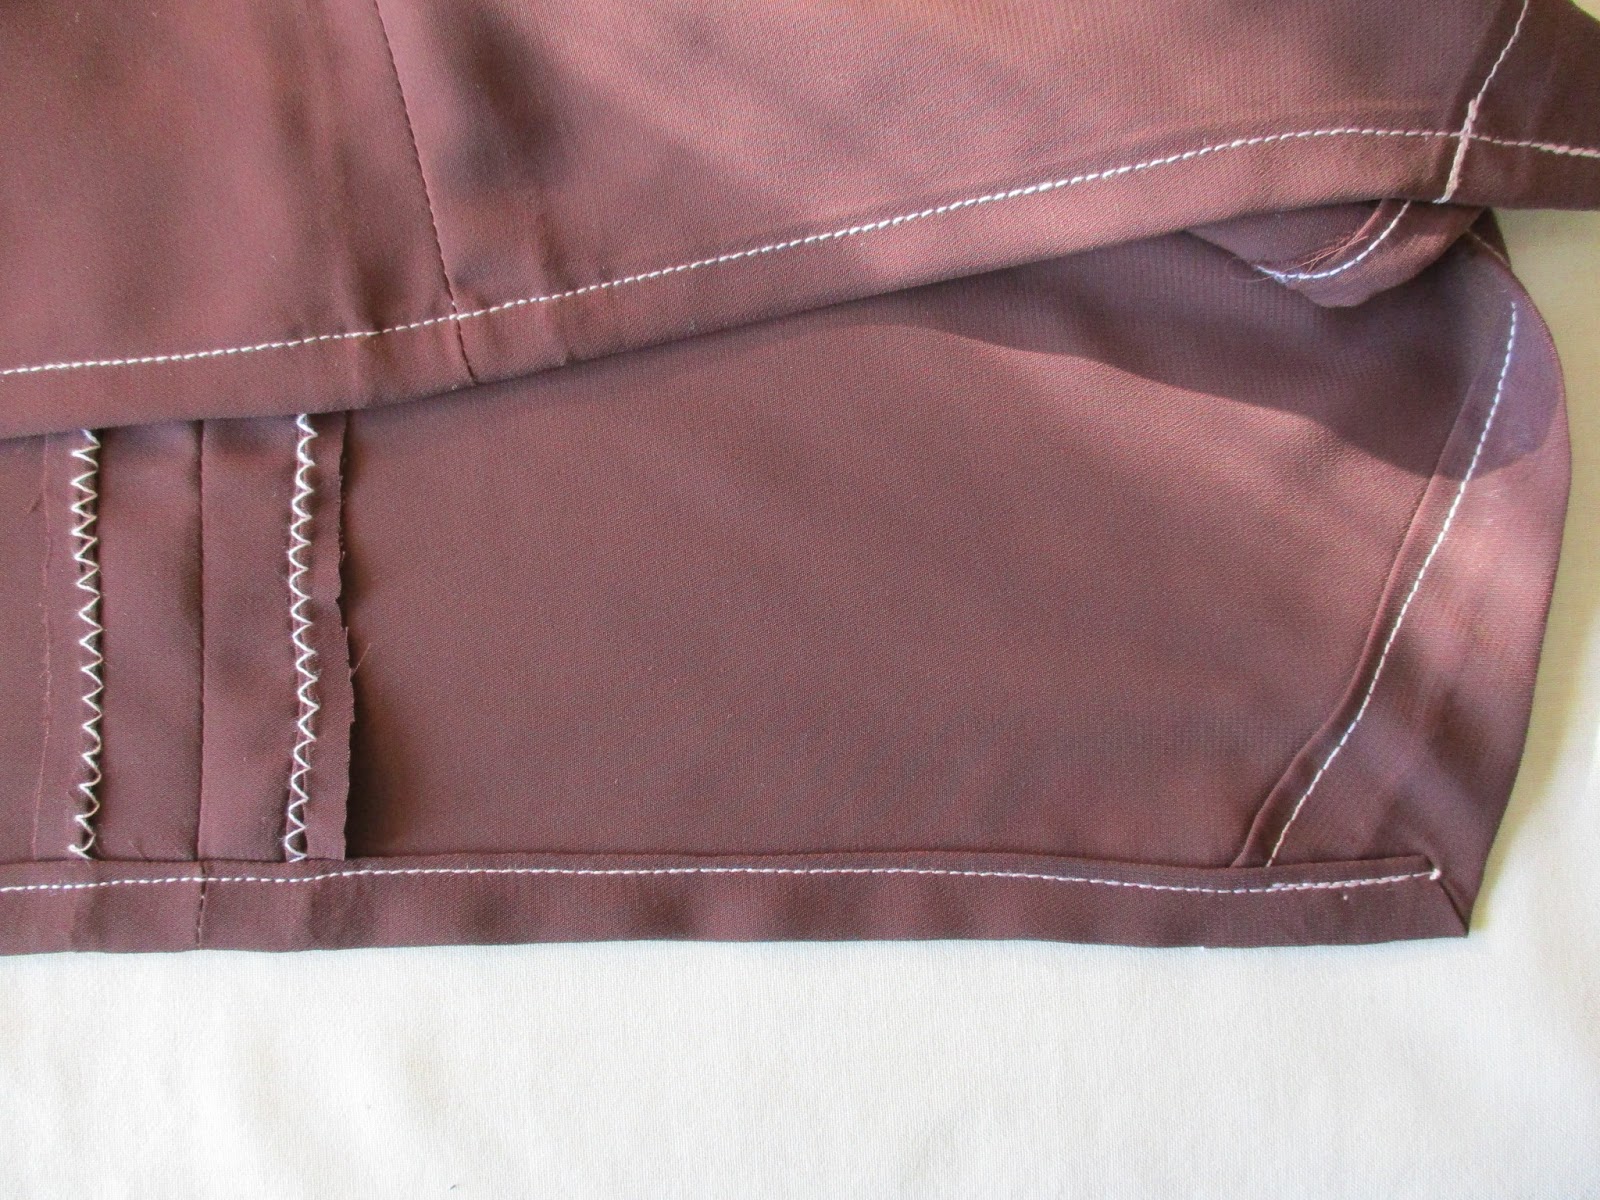
Then turn your lining with wrong side out, and sew along double folded hem as shown in the pictures below.
Then remove baking papers, blue and yellow basting threads.
Then press the double folded hem from the wrong and right sides, use a moisture press cloth.
Now you can view how look pressed lower edge from the inside of the lining.
View from the outside of the lining.


 Then baste both lining back panels together along the center back seam line, using hand sewing needle and basting thread.
 Now, you can see how to look both tucks, and center back seam line with basting stitches.


 It's done.


 Then use a sewing machine and sew along the yellow hand basting stitches, sew the topstitching on the wrong side of the lining. Please Note, I use baking paper it helps to sew thin fabric.


No comments:
Post a Comment